7 Tips for Taking Surreal Self Portraits
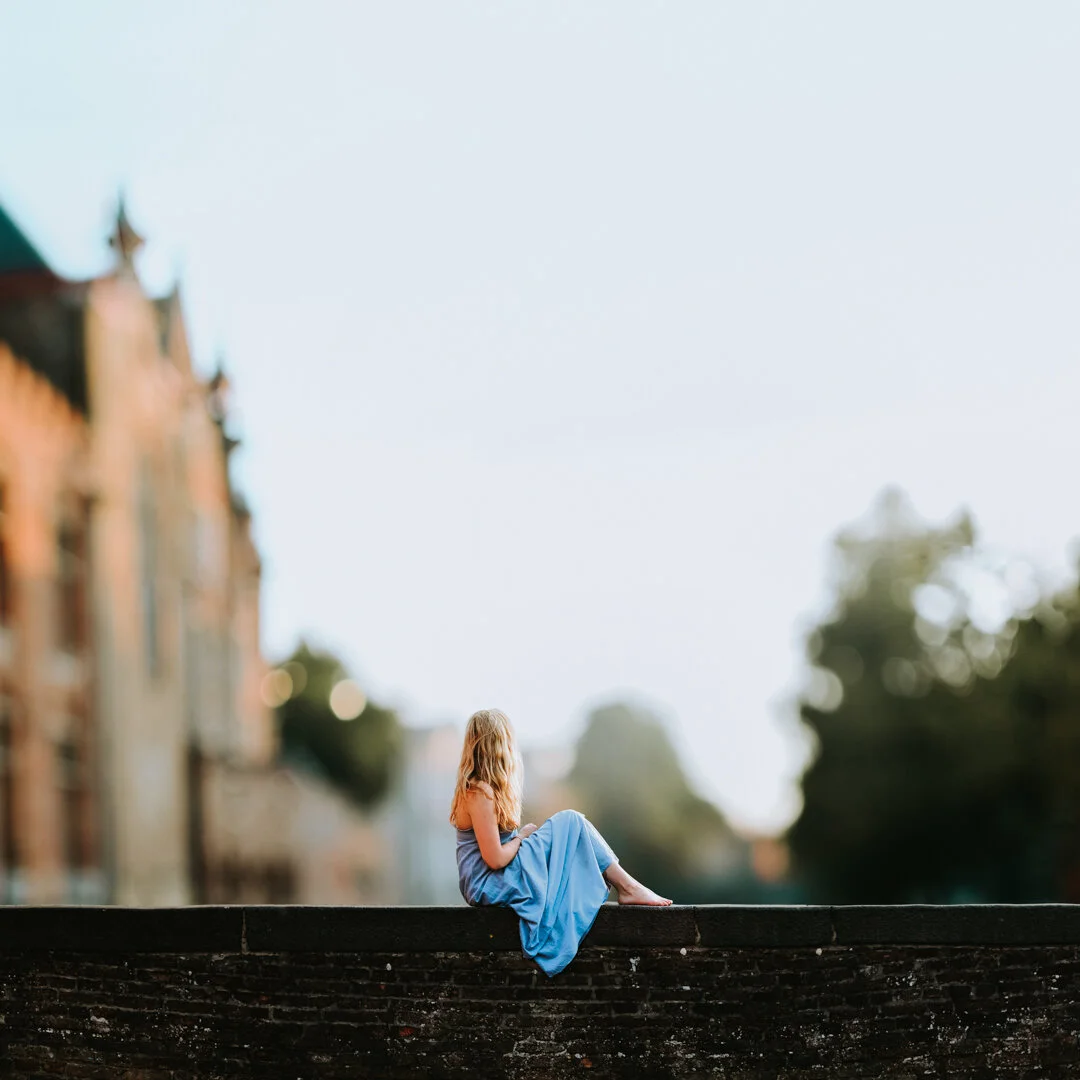
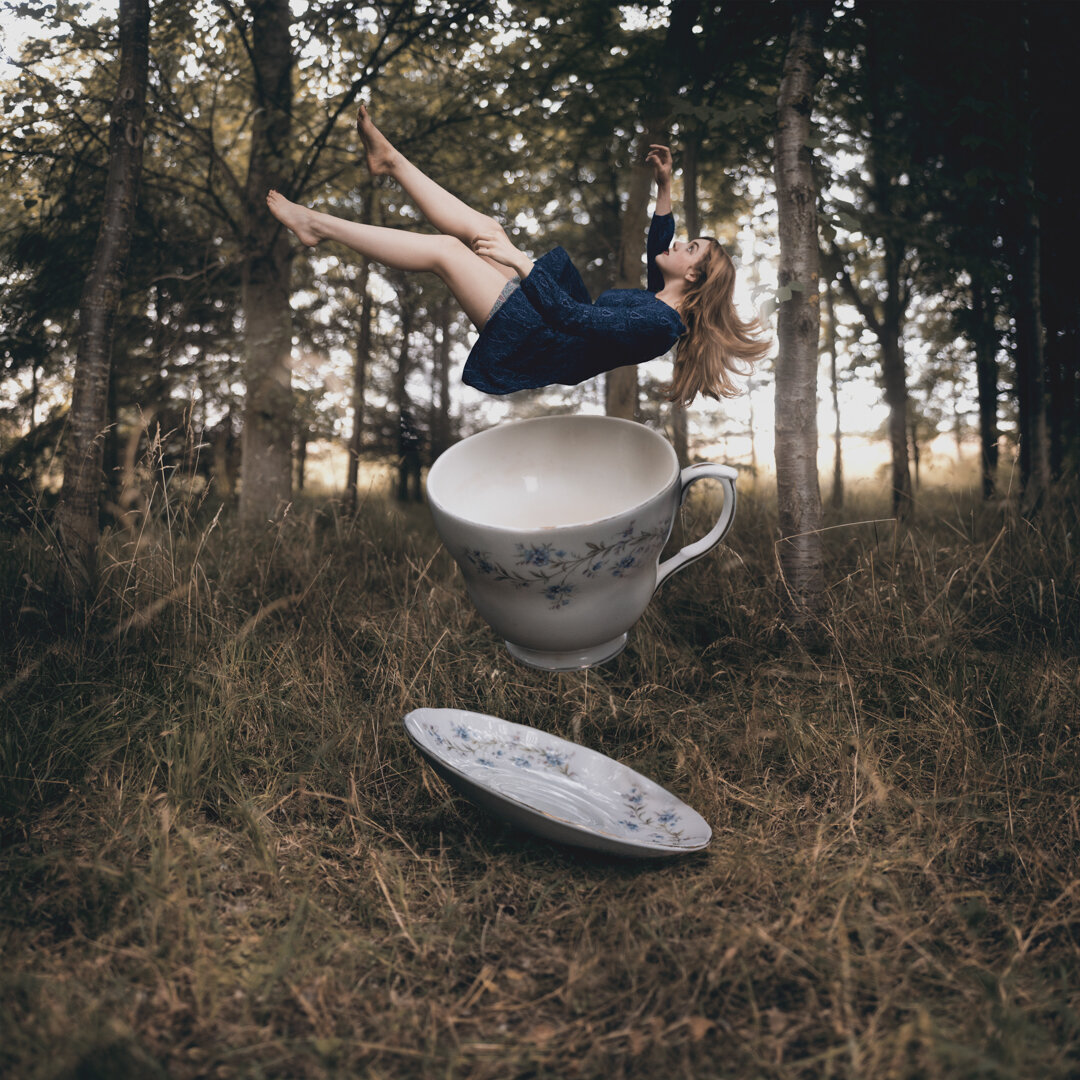
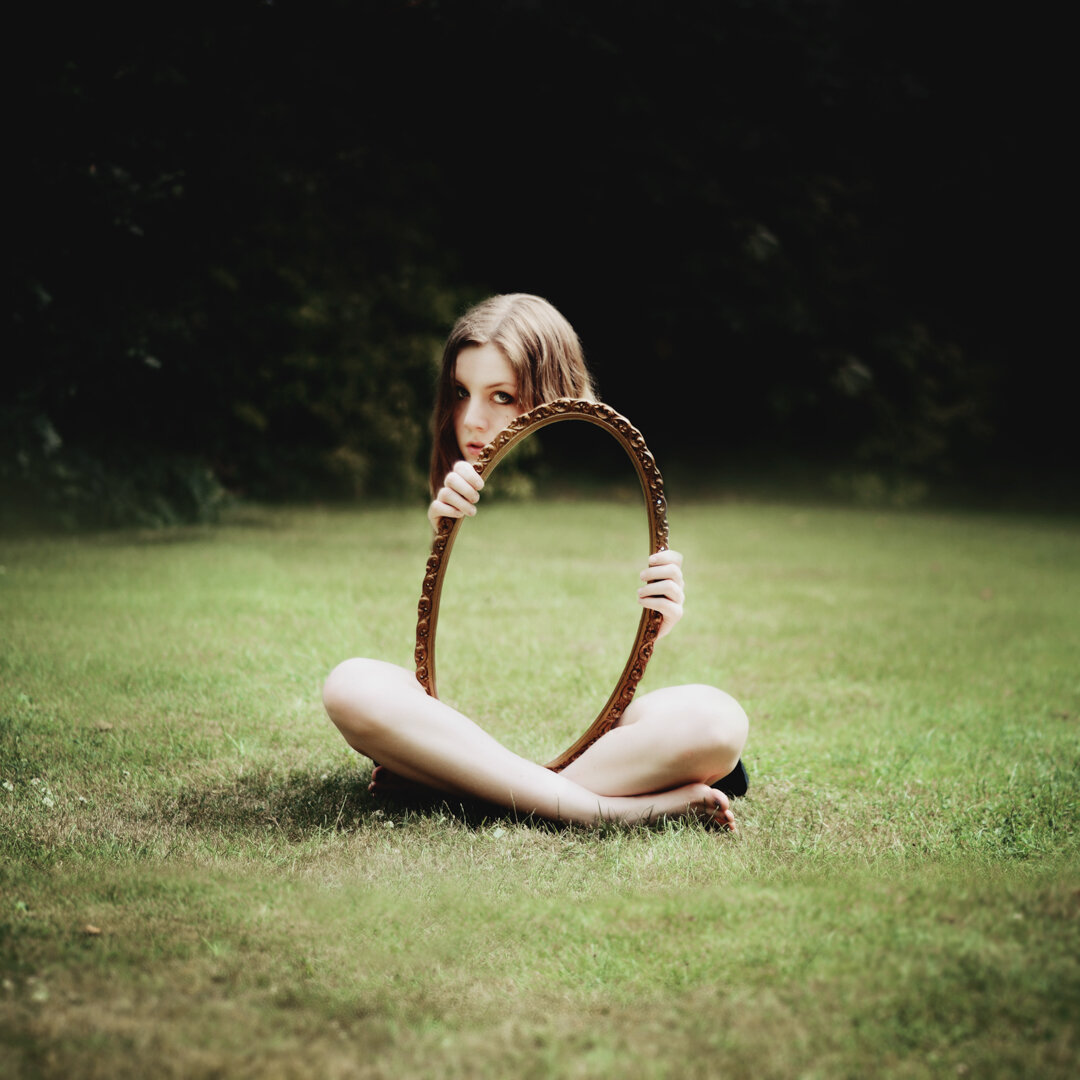
So self portraits have definitely become more of a thing the past few years, and taking surreal, fine art style self portraits is something I absolutely LOVE doing and have learnt so much from over the years. Taking self portraits and compositing those into different scenarios gives you so much freedom when it comes to expressing yourself and your ideas. Here are some of my tips I’ve found super useful with my own work...
1. Using a self timer or a remote
For most of my photos I use a little handheld remote (I’ve always used there Nikon ML-L3, but there are some much fancier ones out there!) with +2 seconds to give myself the 2 seconds to throw the remote or hide it in some way! A self timer on burst mode is a great way to get around 10 photos all at once so you can slightly alter your pose a few times then run back and look at the camera. Or you can even use your phone as a remote, I sometimes use the Nikon app as a remote and you can even use the live view on this to see what it is you are taking a photo of.
2. Sketches
Almost every single one of my surreal portraits starts off witch a sketch. Just a basic drawing of my idea. It doesn’t have to look good (I mean come on, look at mine!) But it is so key for knowing exactly WHAT photos you need to take and when it comes to composing your image later in photoshop. I break it down and make sure I have a list of exactly what photos it is i need to take.
3. Lighting
Lighting! Make sure the lighting is consistent across all the photos you are compositing in order to make it all look as natural and true as possible. off lighting is one lf the first give aways when something doesnt quite look right. if you are photoshopping yourself into a sunny lit scene, make sure the light source is accurate and at least simar to the scene and is hitting you in the same direction. Shadows going in al sorts of dofferent directions is an instant giveaway that the image is photoshopped.
4. Angles
This one’s the same as lighting really, if you are shooting a scene looking up then think about how you need to be shooting the photos of yourself. They’ll need to match the photo you are pasting yourself onto. this is another thing that if you don’t get it right it can look a bit strange! When shooting just think about how the scene will look when its fully composed. as mentioned earlier sketching out your concept and composition is SO helpful.
5. Focus
Make sure you consider what the ‘depth of field’ would look like in real life when composing your images. If you are enlarging something to be made huge in your self portrait image then make sure you shoot that thing at a high f-stop like f/8 or even higher if you can (still try and keep ISO low though) as you will want the whole of this thing likely to be in focus when you enlarge it. This is something I’ve often not thought about, and then realised when composing in post. It makes all the difference though.
6. The Brenzier Effect
This effect is basically just the technique of taking multiple photos of a scene and stitching them together in Photoshop to create a much bigger overall image. (there’s a detailed tutorial here). The benefits of using this technique are that you get an overall much high resolution image to print from, and also an insanely dreamy shallow depth of field.
7. Make Mistakes and learn!
Lastly, make mistakes, learn from them, and be creative! Just shoot loads and loads, making mistakes is OK and you can use them to get even better :) The best thing about making these kinds of artworks is being able to express yourself, tell stories and create incredible and impossible surreal worlds. Go beyond your imagination and scribble down all your ideas and make them happen, no matter how weird or silly they may be.


